Monday, 24 March 2014

3D printed fruit pulp

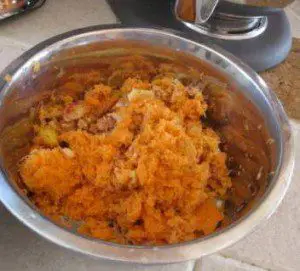
I use to work in a juice bar and we use to make Juice out of oranges, apples, carrot ect. it was made by placing the fruit and vegetables into an industrial juicer and the fruit would turn into juice and exit though a funnel, then the left over fibers of the fruit would make a pulp and the pulp would be forced though another hole and fall into a bin below the bench. The pulp would then be unwanted and thrown away and either composted or used as worm farms or feed to pigs.
the shoot which the pulp exits

shoot where juice exits 
I want to think of a way to incorporate the use of the pulp into a 3d printed form so it is no longer discarded as waste., I was thinking either having the printing product at the end of the shoot and have it as the next stage in the proses where it would change it into a product or to use it when you take the pulp away and make it outside the shop zone. In busy Juice bars a lot of pulp is dictated in busy days around about 3-4 bags of pulp is thrown away, So I would have to design something that works with that demand of pulp. 
I felt the next step to do was to research what was already out there with using fruit pulp, most places recommended recommended into weird ways to make it into food such as muffins and mixing in in food or dehydrating it. but I didn't really want to do that, I didn't really like the idea of mixing it back into food, even though it is 100% natural food, it won't seem well designed. I then looked to see if any one had 3D printed with pulp and stumbled upon Eco-cup PriO 
"PriO is a waste-free juicer, which automatically pour freshly extracted juice into the mono-use eco-сups, which it produces himself from the fruit or vegetable pulp with the addition of the resin by using technology of 3d-printing. It makes such package 100% bio degradable and moreover allows to everybody became a designer of their own style of the container." 
This design is so far only a concept and still has room for some to develop on to it. I like the way that the have found a way to think of a way to print with pulp but I don't like the design of it I don't think that it would work as well as it is set out to, but it a good leading point to see what others have though of 3D printing with pulp

Sunday, 23 March 2014

Creation of Creators

For this project I have to think of an idea to make a product that will produce a creation, though the idea of manufacturing and 3D printing. I have to think about these ideas; Can you make something that exists in a provocative/better/different/beautiful way? How will it change the current way of making? How will it affect the way of using? 
I felt the first step to finding an idea was to look at what has recently been published to get an idea of the different approaches I could take, 
The first one I found was on Designboom; océ 3-D fine art reproductions 
"built a photographic scanning system which captures high-resolution, three-dimensional images of fine art paintings. through a data-to-print process, canon’s océ group, which specializes in large format printing, has translated the scans into identical reproductions of some of the most recognized and renowned master works." I found this concept very unique as it found a new way to replete famous pieces of artwork it brings the copies to life and gives them more depth and accuracy then any other copy.
I then found 3D printed LEGO wedge completes chipped 
designer greg petchkovsky bended nature with 3D printing by  integrated them inside the volume of the chipped off corner to make it seem as if the block was made from the iconic building blocks. I liked this concept it is short and sweet, taking the flaws in nature you don't even notice and making it so you can see them in a unique playful way. 
The last one I found was on Design Milk ; An innovative catenary pottery printer By GT2P
"The printer was born out of a desire to create standard machines that generate non-standard results by mixing the normal numerical control with traditional material and techniques. It reintroduces the idea that parametric design isn’t necessarily always a digital computation methodology. The pottery printer is an analog machine that uses computational logics and automation processes to form pottery. With the combination of all these factors, the machine can create a variety of objects, from tableware to candle holders to even hanging lights. This pottery printer is more than just a machine—it allows gt2P to speak about parametric design without computers and digital fabrication laboratories." 
I really liked this concept with the fact that even though it was manufactured it still made unique one of a kind objects that couldn't be replicated perfectly, it gave an organic quality with the use of shapes and forms and the uniqueness of each bowl. I also liked the fact that unlike all the other 3D printers it doesn't use digital programing to make the products, its made purely with human interaction. 

Wednesday, 19 March 2014

shirt photos


Putting it in real life

I decided that next step I should take was to put my models into the real world to show how they would be used. I took my sock to the shop on Cuba street and placed it next to the other sock so you could see the difference between my sock and theirs. how mine could stand alone and look more realistic.

PVA Shirt

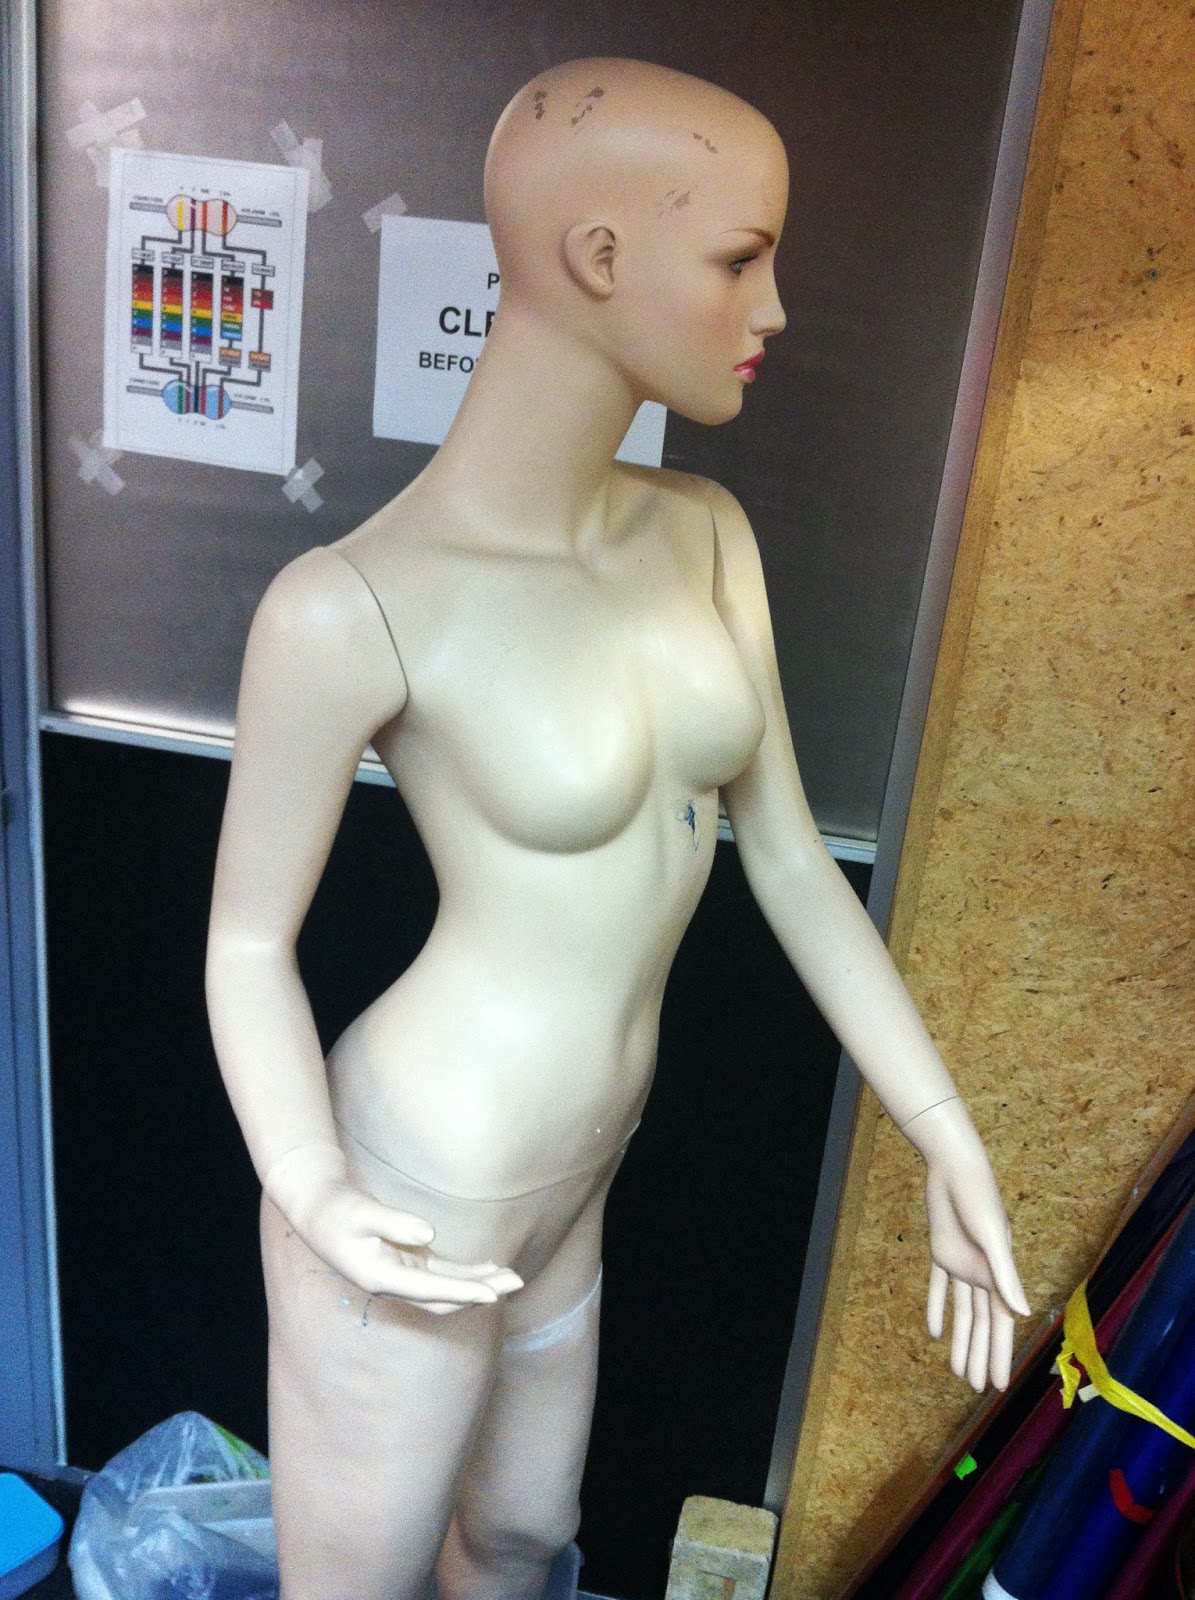
after the sock turned out well I wanted to try it on a bigger scale to see if it would work in a larger object, I also wanted to try molding it on a manikin as I found it hard to mold it on my self as I had to keep my self very still for the whole molding process as it became very difficult. I molded a shirt;

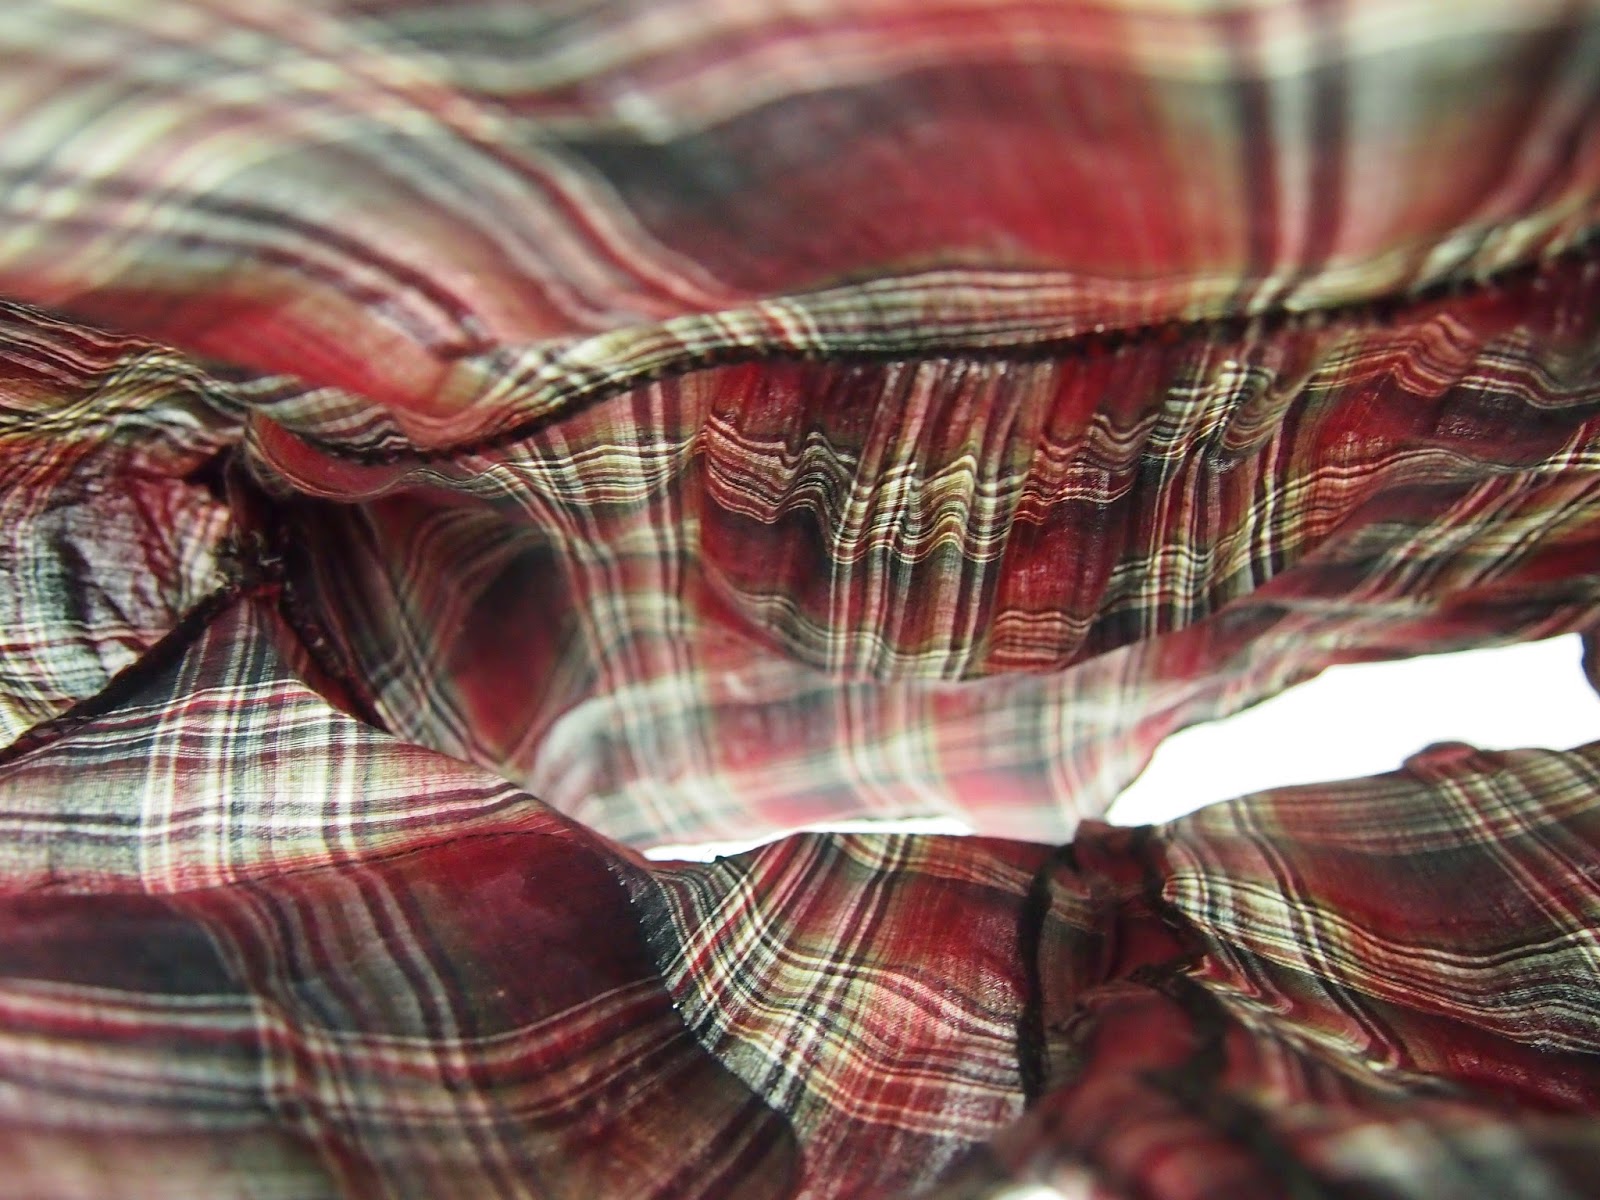
I had to do about four coats over the shirt to make it stiff enough to support its self and keep its shape. it required quite a lot of effort to pull the shirt off once the PVA had set but I found that once it was off i could form it back into the shape I had set it into and it held its shape well. 


Examples where my application could be used

I was walking down Cuba street today and I was looking in a shop window at the different displays and how they arranged them to advertise their stock and one of the shop windows court my eye;
The sock was propped up using paper to look like it was being warn. this is the exact reason for my application, if they used PVA to mols the sock they wouldn't need the paper and it would look more visually appealing and more realistic as it would take the actual form of the sock. 

Sunday, 16 March 2014

applying PVA to an application

I wanted to see how to apply PVA to a real life application so see how it could be used in the real world. I wanted to push the idea of putting it in clothing to result the clothes to mold into a form you molded it into, I though about the Idea of putting starch into shirts before they are sold so they keep their shape and when the customer takes it home they wash it into its original tactual property. I wanted to take this idea a step further by putting the clothes into its 3D form as if someone it wearing it by socking the clothes in PVA. I felt that its idea could be used as shop displays so you could see how the garment is warn without needing a mannequin or for online and catalog photos so you wouldn't need a model to show how the clothes look in the 3D position. but then to get it back to its wearable state you can just wash it out as PVA is water soluble.
I felt that I should test my idea to see if it would work, I tried with a small garment, a sock;
 I felt I should start with something small as then  could get a feel of how many layers of PVA I would need and know what parts would need more PVA to create the garment to stand alone. I thought a sock world be easy, but I found it probably not the best choice. To get the best result from PVA on cloth you have to prevent the mold from moving and using your own foot as the mold made it very hard to keep it at the same angle throughout the whole molding process. I found it took hours to make the PVA strong enough to stand on its own, I had to do it over three days and 100's of coats, the first day was easy as the PVA absorbed fast and dried fast as their was a grater ratio of cloth the PVA, but when taking the sock off it could not stand alone, it was more like an unwashed sock, had some stiffness to it but couldn't keep a 3D form.
Day two to a bit longer to absorb into the cloth as there was already PVA in the cloth, this time I wasted to see what would happen if I put the PVA/boric acid solution into the sock. I found that it made a thicker paste though the sock, it was more difficult to absorb and dry but it made it stronger, I rubbed it into parts of the sock that needed more support like the sides of the sock and the heal, the part that would take most of the weight and needed the most molding. I found this day harder to take the sock off when it had dried as it had taken its from a bit more. it still couldn't stand on its own but you could see a shape forming.
On day three I found it quite hard to get the sock on as the PVA had prevented the sock to have any elasticity it it. I did about 5 more coats of PVA on the sock focusing on the areas which weren't strong enough to stand alone. Day three took the longest to dry as their was less cloth for the PVA to absorb into but I could feel the sock taking form around my foot. The hardest part came when the PVA had dried and that was to take the sock off my foot. As the PVA and molded around my foot an had given the sock a lot of strength and stiffness and also lost a lot of elasticity it was extremely difficult to remove the sock, but with a lot of careful tugging I got it off and it could stand alone.


As I had to pull it off my foot I feel that it had lost some of its iconic foot shape as I had pulled it at certain parts making them weaker thats why it is slightly wrinkly on the higher parts and also why some of the foot part caves it. this wouldn't of happened it I could some how get my foot out without putting tension on the form. I feel to get this to look perfect as if a foot is sitting inside I would have to have some kind of mold that would easily and cleanly come out of the sock with out inserting tension on it. but as a whole you can see where my would was with curves in the sock like around the toes and the arch on the sole. It also stands alone which is the main point of this application.